Have you ever wondered how people can spawn any model like a table or a chair in any world and they can simply walk away from the model and stay in its place? Here is a quick guide on how to set that up for you to add World Constraints onto your avatar.
-
Create a game object in your Hierarchy by right-clicking and click on Create Empty. Rename it to WorldTransform and make sure the transform position and rotation is all set to 0. Then you can drag WorldTransform from your Hierarchy and anywhere in your Assets folder to create a Prefab.
-
Delete the WorldTransform from your Hierarchy because we don’t need it there anymore. Create a game object and call it World Constraint. Then right-click World Constraint and create two more game objects. Call them Container and Reset Transform.

-
Highlight World Constraints and add a parent constraint by clicking on Add Component. Open the settings and check the boxes Is Active and Lock. Make sure it’s all set to 0 in your position and rotation. Add a source by clicking on the plus and drag your World Transform from your Assets and into the source.
-
Highlight Container and add a parent constraint by clicking on Add Component. Open the settings and check the boxes Is Active and Lock. Make sure it’s all set to 0 in your position and rotation. Add a source by clicking on the plus and drag your Reset Transform from your Assets and into the source.
-
Right-click Container and add a Cube or Sphere of your choice by clicking on 3D Object. Once you create your model in the Container, delete the Collider in the Inspector because it’s pointless to have. After that, you can now drag your World Constraint from your Hierarchy and anywhere you want in your Assets to create a Prefab.


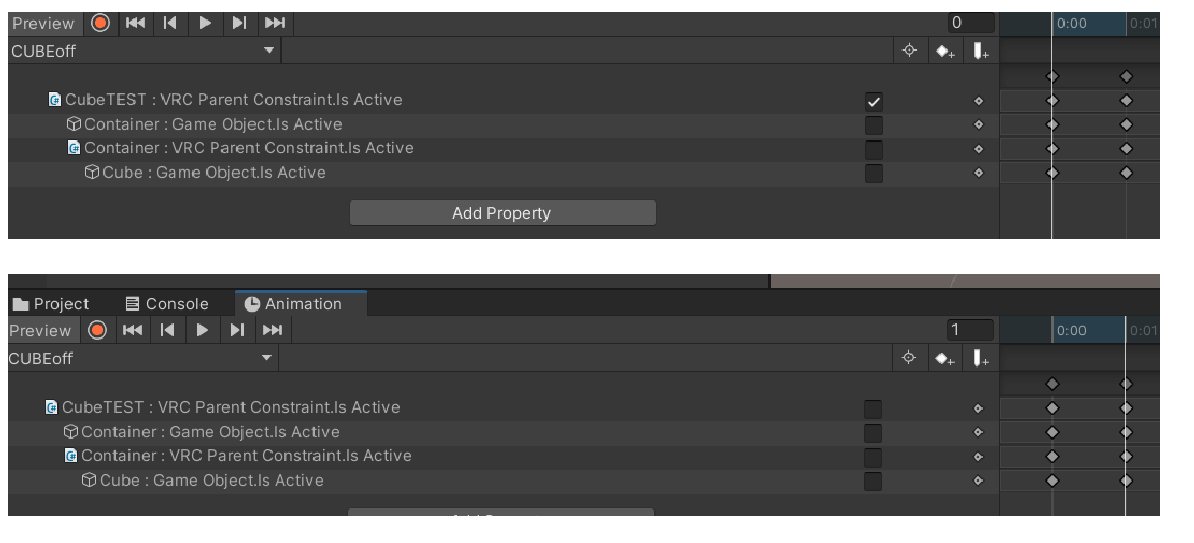
For a better understanding, I created a tutorial video that you can all check out and how to set up a quick test in Animations.
Get creative out there my friends. Like always…
Keep Smiling For Me.
")